Wednesday, January 30, 2013

Make Your Own: Sock Puppets

Are you counting down the days until Spring like me?

Don't get me wrong. I love the winter holidays and the first fall of snow...then...
.....I'm over it.

I want it to end. And I want Spring. Stat! To no avail, I must wait like everyone else. 

To help combat cabin fever, I find myself looking for new craft and game ideas to do with the kids. 

Then, I came across some of Daniel's old clothes that I had been meaning to donate or throw away and thought we could use the socks for puppets! We were inspired after reading one of Daniel's favorite authors, Laura Numeroff. In her book, "If you give a Moose a Muffin", the Moose makes puppets and the book provides a simple tutorial on how to make your own. 

So we got to it! We picked out a few of Daniel's old socks. He colored his orange with black stripes and I colored mine green. From there, we just let our imagination take over. Here are some of the steps we took to make our "Tigre" and "Sapo" as Mia lovingly named them.

You will need:
1. Old socks
2. Scissors
3. Markers
4. Pompoms/Googly-Eyes
5. Pipe-cleaners or other decor (optional)

Here is "Sapo". Read below to see how we made him and his friend "Tigre".


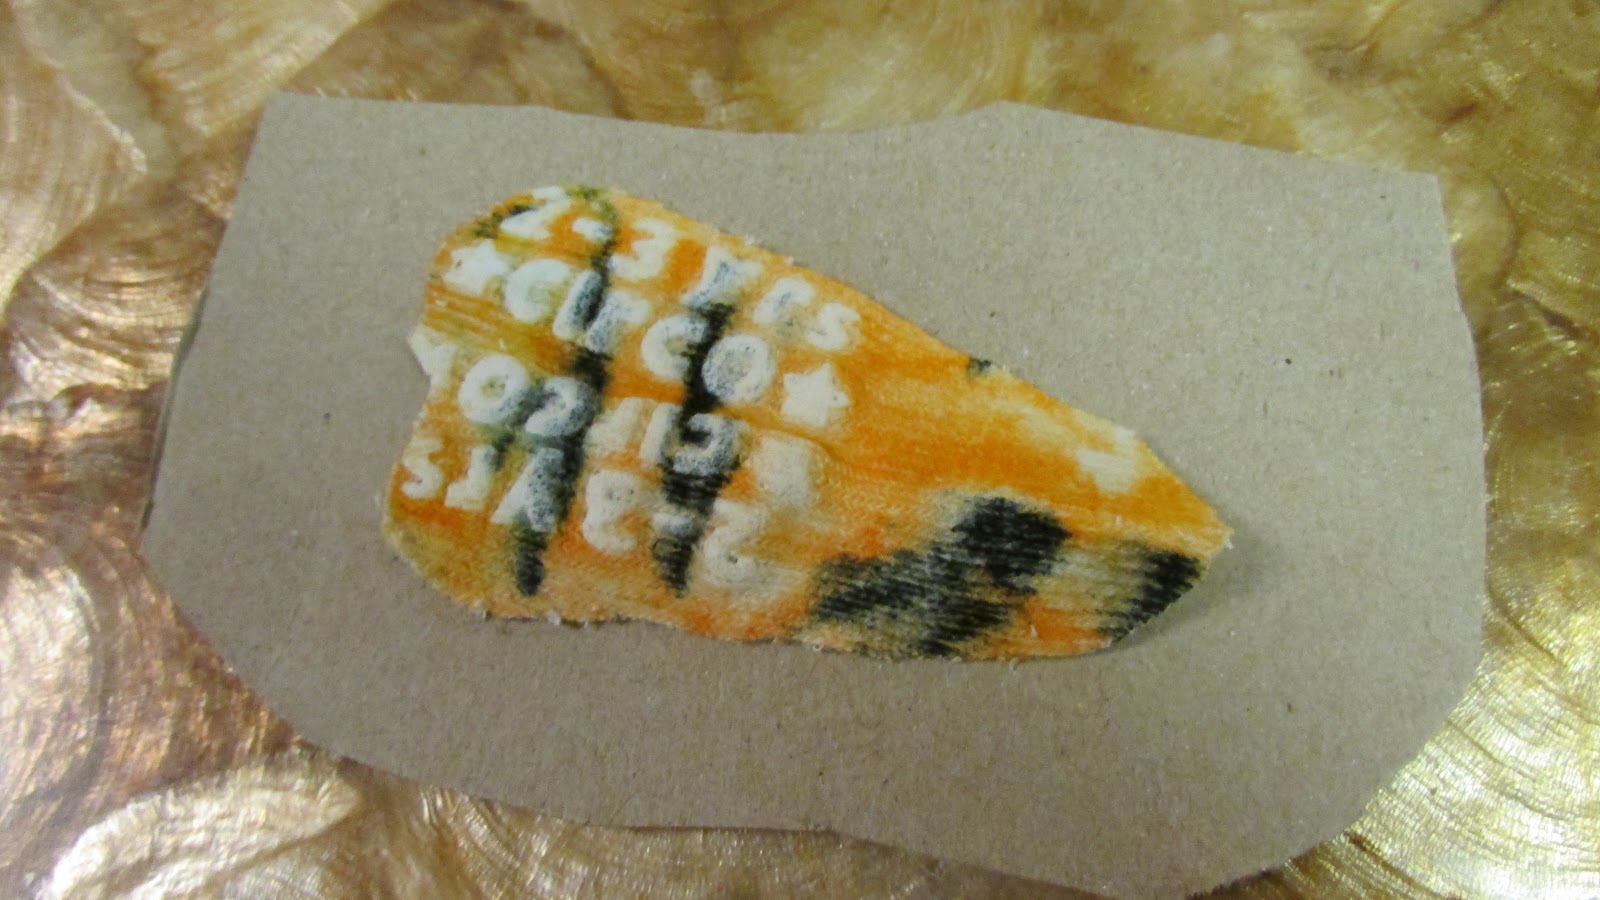
1. Find an old sock and color your heart out. Daniel colored his orange and black.

2. Flip it over and cut out part of the sole. You may want to try it on your hand first and mark approximately where you will need to cut.

3. Take the piece you cut and lay it on top of a piece of cardboard. You will need to cut the cardboard to about that same size. The cardboard will act as a mouth. We used an old cereal box.

4. Place your cut cardboard onto a piece of felt or foam.

5. Cut the felt/foam slightly larger than your cardboard.

6. Glue the edges of the felt/foam to the cardboard. I used a hot glue gun. Doesn't have to be neat. 

7. Fold this in half.

8. Glue the felt/foam piece into the cut-out part of your sock. You should place it behind the opening of the sock. We then added a foam tongue for fun.

9. Then decorate! We added two white pom-poms and googly-eyes on top and a green pom pom for the nose.


The kids put the puppets to work right away and put on a puppet show! 
(And yes, Mia is wearing an elephant costume. Don't ask. Ha!)


xoxo!

Sunday, January 27, 2013

Bargain Baby...Thrift Shopping

Once upon a time...

I
used
to
care
about
brands.

Then one foggy day, the thrift fairy knocked me over the head with a stone. She called the stone "Frugality" and vowed I would never be the same again.

She
     was
            right.

Some time in between having my first child and my second, I began exploring thrift and consignment store shopping for the kids and have been sort of hooked ever since. Especially since it seems they outgrow their clothing at lightning speed! Why not get it at a bargain?

Up until now, I haven't had to worry about buying clothing for Mia, except for the random special occasion dress. Lucky for her, she was blessed with lots of wonderful little girl cousins who love to share and has been wearing most of their hand-me-downs. Recently though, I've had to start shopping for her and have found some great bargains at a few local consignment shops.

So although, I will bargain buy most of the kid's clothing, I've found that periodically, the thrift fairy will lead the way to some really great clothing at really great prices!

Dressed in their Sunday best, their entire outfits were consignment finds.

Daniel:
Top is Gymboree - $4
Bottom is Cherokee - $3

Mia:
Top is Gymboree - $3
Skirt is Gymboree - $3


Happy Shopping!


Wednesday, January 23, 2013

Valentine's Day Cards for the Kiddies

If you've been in any retail store recently, you can't miss all of the Valentine's Day decorations and candies EVERYWHERE! The bright pink and red colored candy bags with red chocolate this and pink candy that. It's pretty hard to avoid.

It got me thinking about what Daniel can give out to his classmates this year when they have their Valentine's Day card exchange.

I knew I wanted to avoid the artificial candies and chocolates, although I would be lying if I said I didn't like the way that they taste on occasion. But the bottom line is that they're not so good for us. They're full of artificial dyes and sugars. And truthfully, my son doesn't even care for them. It's a miracle, I know! I would love to take credit for this one, but he has never had a sweet tooth.

So, candies are out.

This year, stores are full of "non-candy" options for us mommas. I recently walked into a Target and found at least 10 options of Valentine's Day cards and non-candy goodies that were very inexpensive. Some included stickers, tattoos, pencils, erasers, notepads, and stamps. Love that! Most of the boxes were in the range of $2.50. Love that even more!

Not bad, huh?
But before my Target discovery, I had already ventured into our local dollar store and bought several packs of toy mazes (6 in a bag for $1) and made little treat bags for Daniel's class. So if you have some time, and want to make your own, here is what we did.

You will need:
1. small paper or plastic goodie bags
2. small toy mazes
3. fun sticker to seal the bags (we chose Daniel's favorite- Lightning McQueen)
4. gift tags (optional, but cute if you want to include a play on words like "You are an a-MAZE-ing friend.")
5. confetti, to sprinkle in the bags (optional)

 Found these at the Dollar Tree. They also had heart shaped ones (12 for $1), 
but Daniel thought those were too "girlie". I thought they were adorable!

Optional confetti to sprinkle in the bags and Cars stickers to seal the bags. 

My gift tag puncher and red craft paper to make the tags. 
(You can purchase the tag puncher or already pre-made tags at a craft store like Hobby Lobby.)


I used these foam traffic stickers to adhere the tags onto the bags. 
They were left over from Daniel's birthday party. 


Enjoy! xoxo


Sunday, January 20, 2013

Kitchen Crumbs

Just until last year I used to always buy my breadcrumbs. That is, until I discovered how simple it is to make! Never spend another penny on breadcrumbs...

please.

Ever.

All you need are a few pieces of sliced bread. We prefer whole wheat. The key here is to read the label on your bag of bread to ensure that it does NOT contain any high fructose corn syrup. You will be amazed at how many out there do. High fructose corn syrup has been linked to obesity and high cholesterol.

Next, take out a few slices and leave them out overnight. You'll want them to turn stale. Then simply pop them into your food processor or blender and you're done - Breadcrumbs!

You can use this as an opportunity to show your little ones about measurements and counting. Daniel did most of the work, but Mia watched happily as we counted the number of pieces we needed to cut the bread into, in order to fit them into our Ninja food processor.


Tuesday, January 15, 2013

Make Your Own: Valentine's Day Wreath

Love is in the air.

Something about the middle of January kicks me into full Valentine planning mode. It's the perfect excuse to preoccupy our minds with something positive, as opposed to the dreary, cold weather, right?

There are plenty of fun, inexpensive Valentine's Day decor out in the party stores and dollar stores. We have some of those and happily put them up. But this year, I really wanted to make something that my children could get involved with and was hoping they could learn something along the way.

Last weekend, I took Daniel and Mia outside for some fresh air.  We went to the far end of my yard where there were remnants of trees that had been torn away during Hurricane Sandy. It was a perfect opportunity to teach them about parts of a tree, and very neat for them to see the inside of a tree trunk and the growth rings.

They were especially amazed at the sea of pinecones that had fallen recently and covered the ground nearby. So we got to picking,
and picking,
and picking!

We picked so many that I thought we could turn them into something special for Valentine's Day. Our own little pinecone heart, if you will. Here it is and here is how we made it.

1. Collect lots of small pinecones.
2. Spray paint them red, or your favorite color. I'm sure white would look very lovely too.

3. Next, find a thick piece of card board. I used red craft paper I had left over from Christmas.

4. Fold your paper in half and draw the outer and inner outline of a heart.

5. Cut out your heart.

6. Tie or glue a ribbon to the top of the heart.
7. Using a hot glue gun or strong adhesive, glue on your pinecones.


And that's it! Your kids will enjoy seeing that what they picked turned into something special for the whole family to enjoy.

Monday, January 14, 2013

Make Your Own: Kid's Box Cars

I'm a little late, but Happy New Year! Better late than never, right?

This year, in addition to food ideas, I'm going to begin including some craft ideas as friends continue to ask me to share some of my arts and crafts projects.

I am a craft JUNKIE! And now that Pinterest exists, my addiction has become a bit chronic. I absolutely love being able to make home-made decor and projects. My favorite excuses to make projects are usually centered around:

holidays,

birthdays, and

kid's fun and educational.

This weekend, we were gearing up for our Friday night movie night. We usually rent a kid-friendly movie, pop some home-made popcorn (link for a super easy recipe), and cuddle up in our pjs. But I had this lingering itch to make use of some old diaper boxes I had been saving in our garage. Just seems like such a waste to throw them away every month. So I thought, we could turn those boxes into box cars and have our very own little drive-in movie!

All you need are:

1. big cardboard boxes (old diaper boxes, Christmas gift boxes, almost anything bulk from Costco will do)
2. wrapping paper or child friendly-paint/spray paint
3. painters tape or Duct tape
4. glue stick or Elmer's glue
5. construction paper or black paper plates
6. embellishments of your choice
BEFORE


Honestly, this is so simple. Be creative as you'd like.

First, cover your box. You can simply wrap it in left over wrapping paper or if you are going to paint it, prime your box with white paint. Once dry, paint your color of choice. Daniel chose brown for his and pink for his baby sister. Let it air dry.

Next, if you have black paper plates, glue them on as wheels. Or you can use a plate to trace large circles onto black construction paper, which is what I did. I then cut out smaller yellow circles to glue inside the black circles.

Here is where you can get creative. Decorate to your heart's content. I only had blue painters tape on hand, but Duct Tape makes some very fun, colorful tapes with different designs that you can use instead. Tape around the edges for added flair.

Finally, add whatever embellishments your child likes. I added their names to the front with foam letters I found at the Dollar Tree. You can add glitter, buttons, sparkles, stickers, etc. You get the idea!

I hope you have fun creating these box cars for your little speedsters!
AFTER